Wall-less in Whitehall Bedrooms and Living Room
- bednarwedding
- Apr 1, 2019
- 3 min read
Whoops. Been a while since the last post. Definitely fell short on my 1 post per week goal. This post will cover the boring stuff of the 3 bedrooms, 2 living areas, and the 1 office space.
We'll start with the main living area. This is the first room you see when you enter into the house. The best part of this room was the bay window. It was the only window in the house that we didn't replace because it was in fairly good shape. I'm guessing it was installed late 90s or early 2000's based on the condition. But it was vinyl and after a thorough cleaning and a few small adjustments it had new life!


The picture above gives a bit a a view of some of the termite damage to the framing we dealt with. Luckily, treatment to eradicate the pests was already completed so our task was just to sister-in and replace framing where needed. We kept the front door as well. Just gave it a fresh coat of paint and new hardware.
The picture below shows one of the entrances to the kitchen. The home originally had this small entry into the kitchen, and another small entry into the hallway, from which you could also enter into the kitchen. We framed in this entrance that's pictured and expanded the second entrance to give the home a more open-concept feel.

And heres the afters!


This last one is a view from the hallway. Didn't have any before pics from this view.
Fun fact: This house was originally built as a 5 bedroom. I think the tax record actually still has it as a 5 bed. The stairs were originally in the front living room. This allowed for the now second living area, with the laundry room to be a bedroom. The stairs led to in between the 2 rooms upstairs, allowing them to each be separate bedrooms too. Those 3 rooms plus the other 2 on the first floor equals your 5 total bedrooms.
By the time I started work on this house, the stairs had already been moved to their current location in the back-most room.


Again you can see some of the framing damage we had to repair. We actually had to pull the stairs out, because it was the only way to replace the drywall behind it. There was discussion on potentially moving the stairs back to their original spot, but we decided it was simpler to keep them in this location. The laundry area got a tile floor and a sliding closet door to keep it separate from the rest of this room.


That's actually the same stair hand railing from the before pics. Those suckers are expensive. Just a coat of paint and we swapped the 2x4 support for something a bit classier.
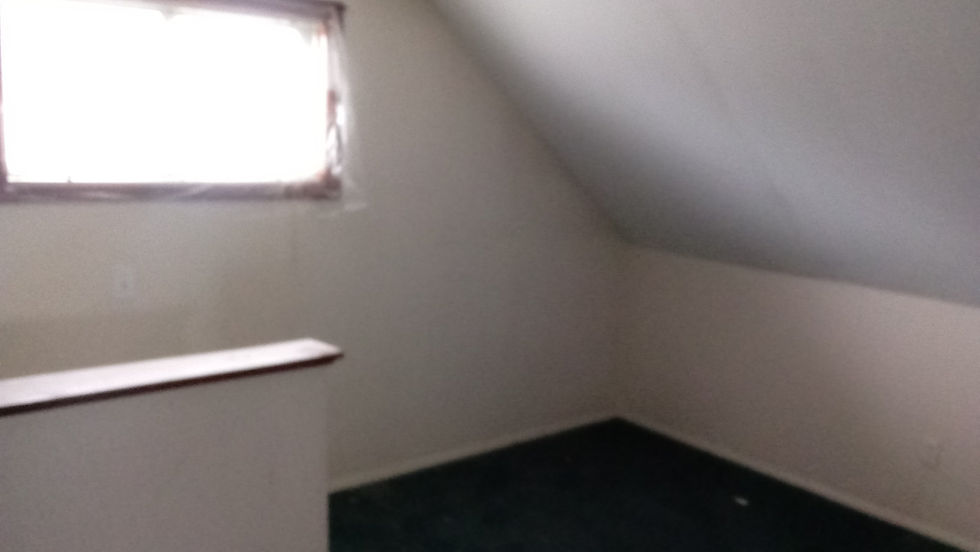
When you head up the stairs you were faced with this:


From the first pic, you can see how this room now leads into the other larger bedroom on the second floor. Thus, this basically just became office/den space. Nothing to fancy happened here. It did have a pocket door leading into the bedroom though. We kept that and just painted it to match the new doors in the home.


Now we'll head into this upstairs bedroom. Again, nothing too exciting up here. We did have to run a new light to the middle of the room. The only light that was there was right when you entered the room, it was actually the light that would've been at the top of the stairs from the old stair location.


Back downstairs there are 2 bedrooms left. We'll look at the middle one first. I would use the upstairs bed as the "master" because it was the biggest. You could use this one as a "master" though too because it has two separate closets.


And finally the front bedroom. Again nothing fancy. This room had a ceiling fan in the middle of the room and then 4 recessed lights surrounding it. It was a lot of light for a small bedroom that also has 3 windows in it. We moved the recessed lights into the kitchen.


Next up is the kitchen!


Comments